
We have furniture, just. After a long wait our sofa finally arrived today so our beds are no longer the sole place for us to park it. Had some heart palpitations when the movers arrived at the building and insisted there was no way it was going to fit in the elevator. They measured and calculated, then measured and calculated some more in the stairwell. Nope, there was no way it was going up to our apartment. I was close to tears at this point as the return policy was not favourable and let's just say this particular sofa is what you might call an investment piece. Anyway they brought it in and what do you know, it fit just fine! So now I have a sleek sexy Italian beauty to snuggle with every evening! Well, daytime too if today is anything to go by, just couldn't pull myself away. Hence today's recipe. This is a combination of what I had in the pantry and fridge (sound familiar) because someone didn't go to the grocery store ( blame the Italian). I must say, it turned out not bad at all.
Recipe
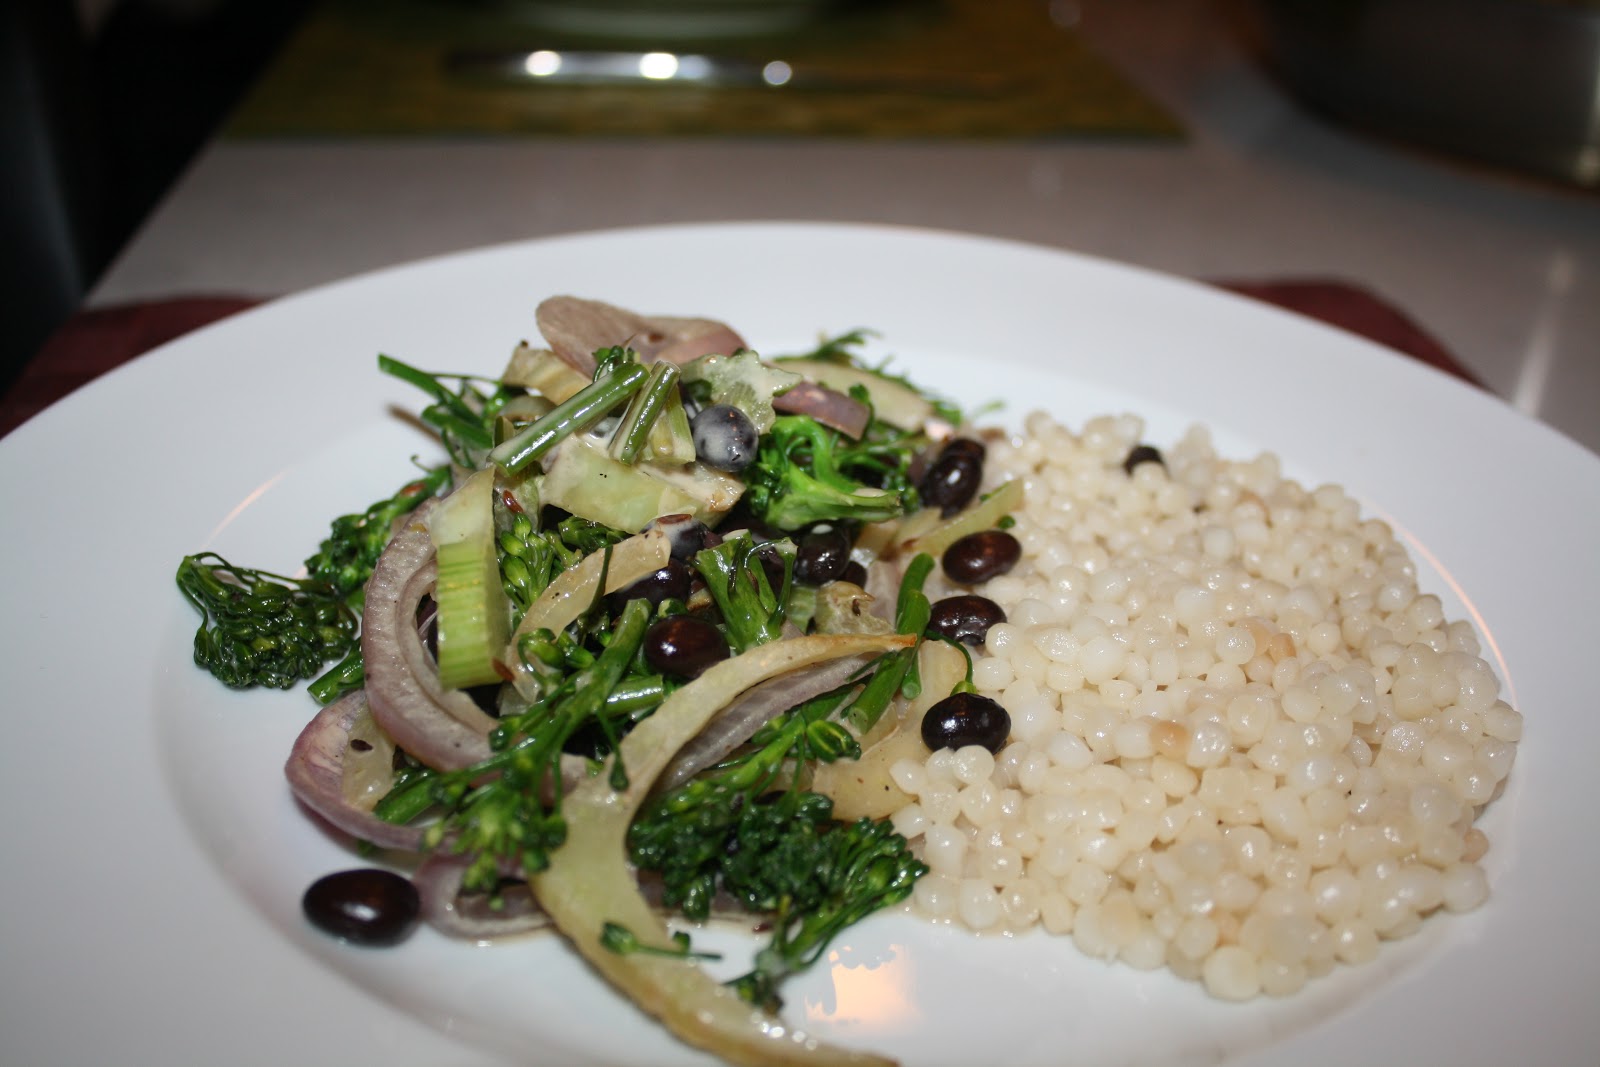
Broccolette, Black Bean and Coconut with Israeli Couscous
serves 4
1 bunch broccolette
1 small or 1/2 medium/large fennel, sliced
1/2 red onion, sliced
1 clove garlic, crushed
1/2 can black beans
1 tbsp olive oil
1/2 can coconut milk, well shaken
1 tsp caraway seeds
salt and pepper
Israeli Couscous
1 cup Israeli couscous
2 cups water
Make the couscous. Bring the water to a boil and add couscous. Simmer gently until soft, approximately 10 minutes. Israeli couscous is actually a pasta, so cook it as you would pasta. Drain and set aside.
Meanwhile heat the olive oil in a large pan and over a low heat gently cook the fennel, onion and garlic, until soft, 5-7 minutes. Trim the broccolette, removing any tough outer layer from the stems. Chop the stems and add to the fennel mixture, keeping the flower heads back. Cook for a further 5 minutes.
Drain and rinse the black beans and add to the fennel mixture with the broccolette flowers and gently heat through, 3 minutes. Pour over the coconut milk and heat for another 5 minutes until hot.
Season with salt and pepper to taste and sprinkle in the caraway seeds.
Serve over the Israeli couscous.
The rather pathetic alternative tree is up by the way. Rather ingeniously and because we are cheap, we fashioned a base for our branch from a laundry hamper. Had a panic moment when we couldn't find Christmas lights for sale anywhere, but we eventually found one beaten up box of rather blueish looking lights after a desperate search around town. It is quite possibly the weirdest Christmas tree ever!


